Enabling Graph API Permissions Creating a New App NEW
Enabling Graph API Permissions
REGISTER APP IN AZURE AD To allow the bot to perform automations for your end-user, we need to enable certain Graph API(s). We will guide you through how to do this in Azure AD. ENABLE GRAPH API Graph API Permissions Required for basic MS Teams automation
- Team.ReadBasic.All
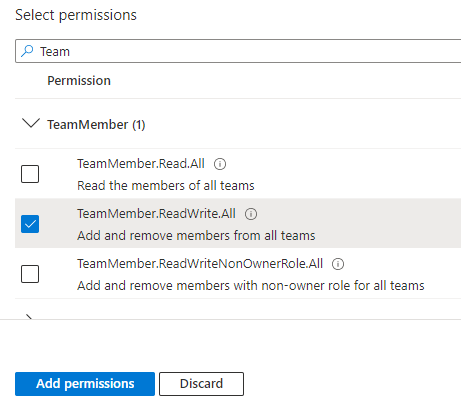
- TeamMember.ReadWrite.All
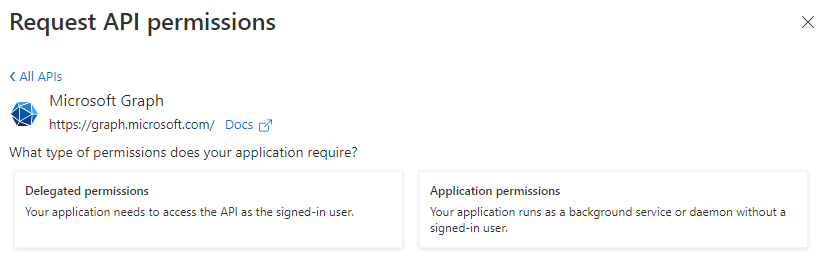
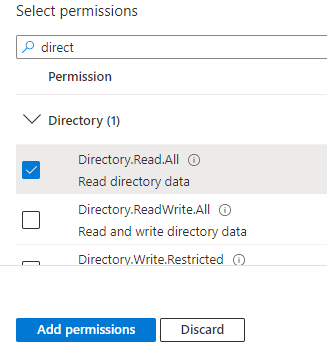
- Directory.Read.All TYPE OF PERMISSIONS REQUIRED
- Application permissions Instructions Part A
-
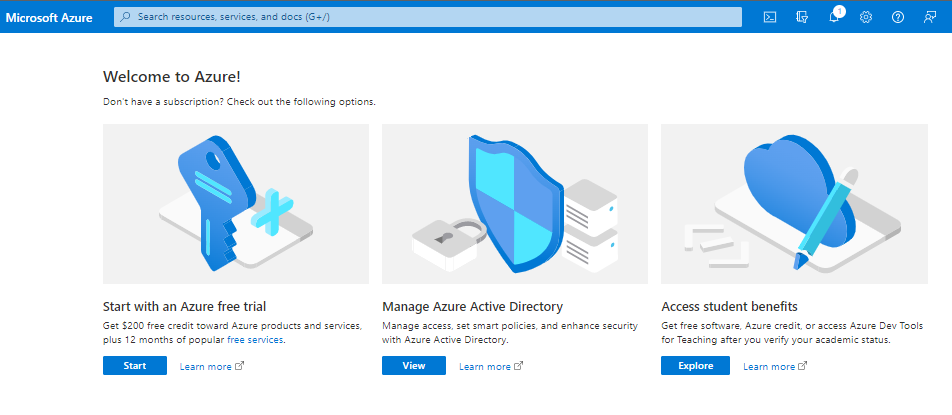
Open your Portal
-
Click on the View button for Manage Azure Active Directory
-
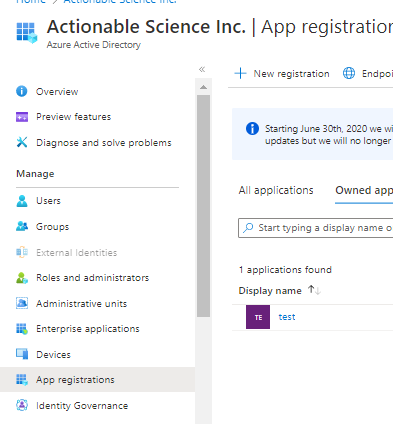
Click on App Registration and then select New Registration
-
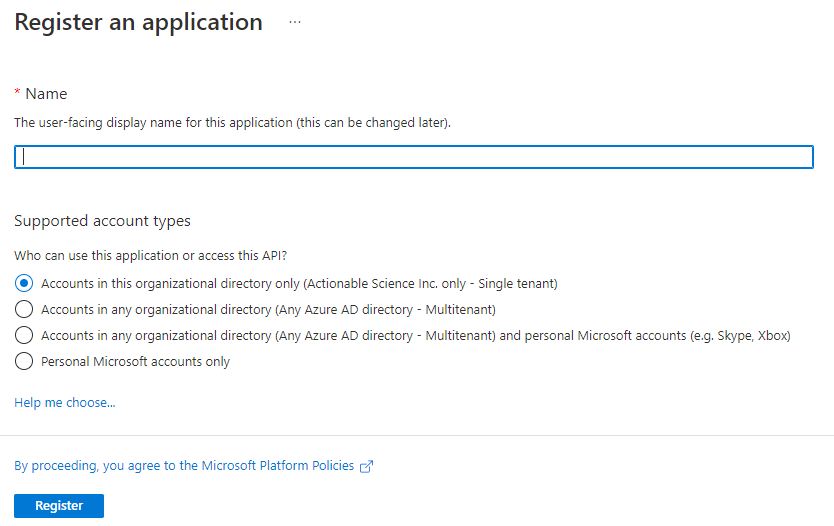
Enter a name to call this set up i.e BotName GraphAPI for Teams, make sure “Accounts in this organizational directory only (Actionable Science Inc. only - Single tenant)” is selected and click Register
-
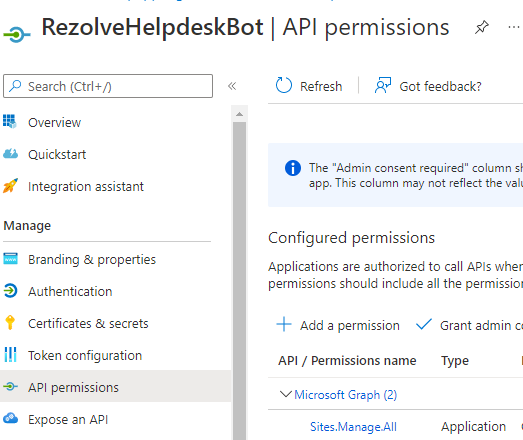
The App Overview page will open, look for Api Permissions in the left hand side menu and click on it
-
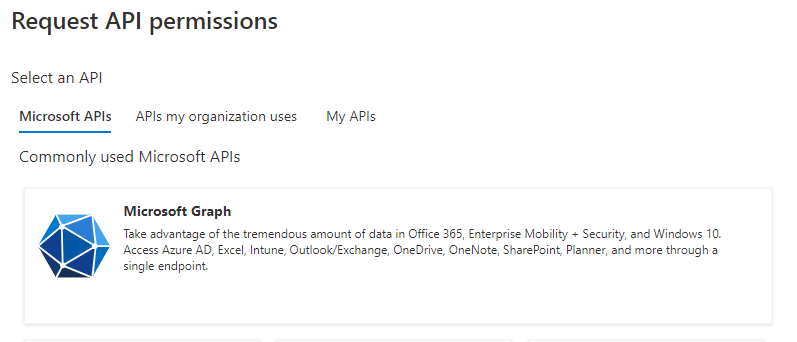
Select Add a Permisson on the main part of the page
-
Select Microsoft Graph
Teams and click Register 3. 5. 6. 6.
-
Click on Application Permission option
-
Type Team in the search box, select Team.ReadBasic.All and click Add Permissions
-
Click Add a Permission > Microsoft Graph > 12. Click Add a Permission > Microsoft Graph > Application permissions again Application permissions again
-
Type Team in the search box, this time select 13. Type direct in the search box, this time select TeamMember.ReadWrite.All and click Add Directory.Read.All and click Add Permissions Permissions 1 0. •
• 14. Close the Request API Permissions box so you are back at the Configure premissions screen 15. Select Grant admin consent for … 1 2. 13.
- Click Yes to Grant admin consent confirmation
- Confirm that the screen looks similar to below with your listed permissions, Admin Consent Req set to Yes and Granted for has a green check
Instructions Part B
-
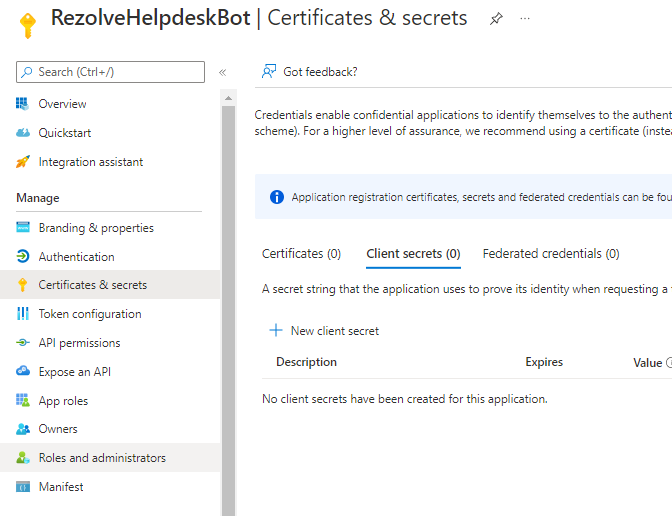
Look for Certificates & secrets in the left hand side menu and select it
-
Then select New client secret on the main part of the page
-
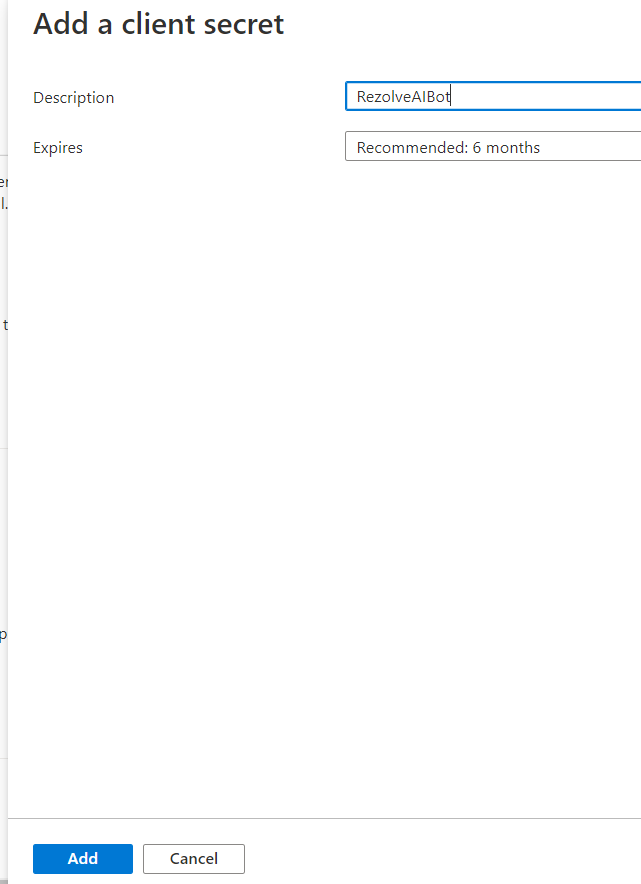
Enter a description i.e. RezolveAIBot and click Add
-
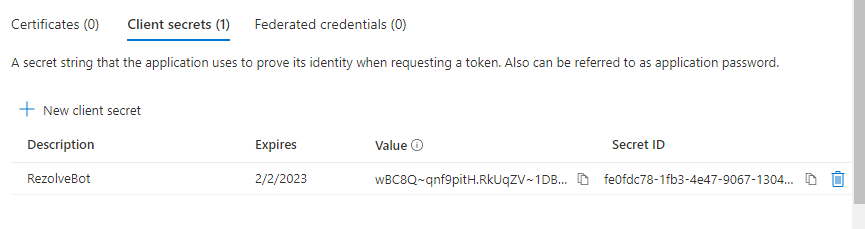
Copy the Value and Secret ID and save them somewhere
-
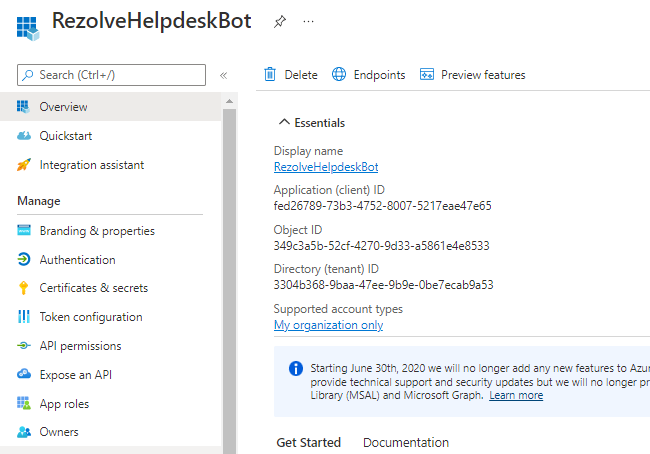
Select Overview in the left hand side menu
-
Copy the Application (client) ID and save with Client Secret ID
-
Send the Application (client) ID, Client Secret ID and the the downloaded Manifest to Rezolve
-
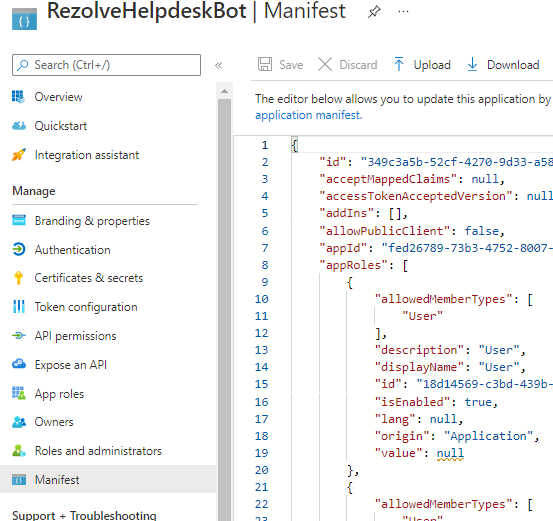
Select Manifest in the left hand side menu
-
Click on Download
-
Send the Application (client) ID, Client Secret ID and the downloaded Manifest to Rezolve